Are you looking to change the look and feel of your home or improve the aesthetics? Tongue and groove is an excellent choice. It’s also quick and easy to install and can be done with just a few tools. As an example, here’s an overview of the process of installing tongue and groove boards horizontally on a wall.
Installing Tongue and Groove
- Measure the area where you want to install the boards. Multiply the length times the width to get the total area. Then add 10% to make up for cut offs and ensure you have enough for your project.
- Prepare the wall. Tongue and groove is installed over drywall or just to studs. If installing over drywall (or an existing wall), remove trim, intake vent covers, outlet covers, etc. Then use a stud finder to mark where the studs are.
- Start at the base and place the first board tongue-side-up. Use a level or chalk line to ensure this board is level. Put a nail at the base of the tongue, into the stud, at a 45 degree angle towards the board. This way the groove hides the nail head when you install the next board. A battery or air powered nailer with small finishing nails is the best way to install our 1×6 and other thin products. For heavier products you may want to use a larger nail or screw.
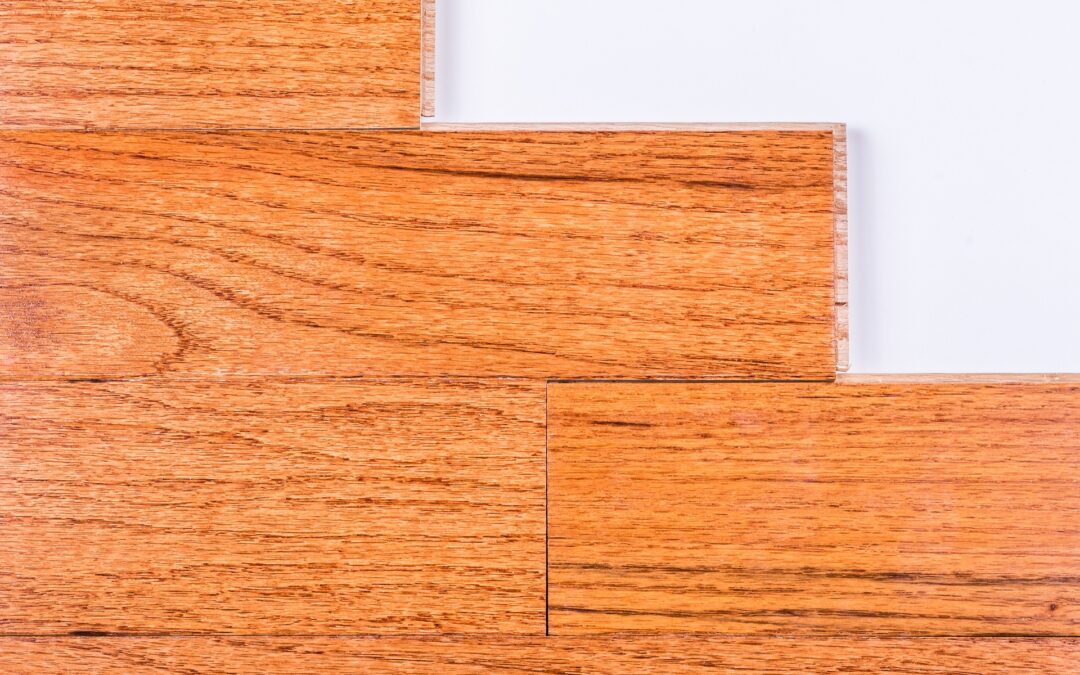
- Slide the next board groove-side-down into place. Use a rubber mallet or piece of wood to gently tap it down, ensuring it fits snuggly onto the tongue of the previous board.
- Continue placing boards in sequence, tongue-side-up. To avoid the ends of boards all aligning in one area, or to introduce a staggered effect, cut some boards to different lengths and stagger them as you install.
- Trim boards as needed to fit around outlets and vents.
- To ensure a smooth and even finish for your project, remember to check that each row is level and each board fits into the one below.
- Finally, reattach trim, outlet and vent covers and admire your handiwork! You now have a beautiful new wall.
Tongue and groove boards are easy to install in other areas as well, like floors and ceilings. We detailed a horizontal installation here but mount them vertically too if preferred. Additionally, the way they interlock together provides sound structural support together with a warm and distinctive aesthetic.
Latest posts by Calista Nicks (see all)
- The Best Wood Moulding Styles for Modern Farmhouse Interiors - June 24, 2026
- How Custom Millwork Helps Create Truly Personalised Interiors - May 23, 2026
- Channel Siding versus Bevel Siding – what goes where - April 28, 2026
Recent Comments